Where to begin:
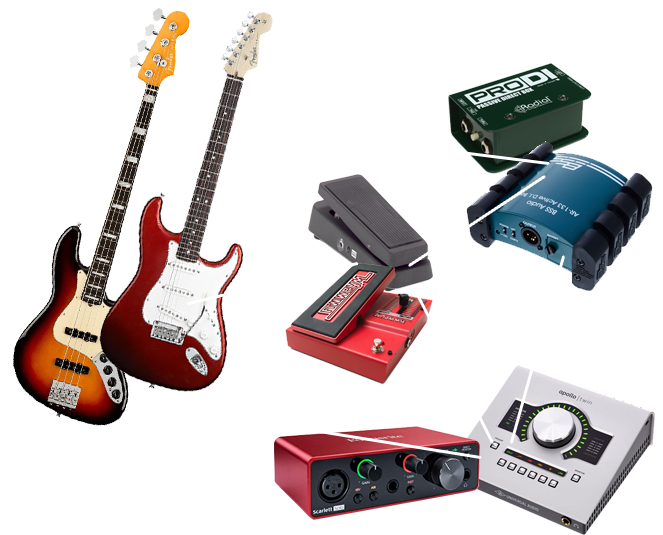
The first advice is to record you bass or guitar lines connecting your instrument to the audio interface, directly or using an external DIbox. If you use control pedals such as wha-wha or whammy we suggest you to connect them between the instrument and the interface input, while everything concerning the effects has to be added in your mixing process, after having received the reamped tracks. Then you can record your track with your favourite amp simulator plugin and set it to recreate the sound that you desire.
A few suggestions for a better result
CLEANING THE SIGNAL: pick-ups of electric instruments, especially single coils, often catch interferences! Cell phones, electromagnetic devices, monitors, speakers magnets, are enemies of a clean signal. Be sure that in your recordings there are as few as possible interferences, by turning up and down the volume of the instrument.
TUNING: miracles can be done about timing and execution, but – especially for the rythmic parts – the tuning of the instrument has to be perfect because almost nothing can be done in post production. Be sure that the tuning, the octaves and the action of your instrument are all in order before you start recording
INPUT LEVEL AND GAIN: we suggest you to verify that your signal doesn’t clip in your interface, trying to play at the maximum intensity. If it happens just turn down the gain level: it will be sufficient to stay below the 0db. Try not to modify the gain level during your recording session unless you have to change instrument. We also recommend the lowest level of saturation necessary with your plugin, in order to have a good performance: having too much saturation might affect your playing.


Total DE-NOISING
Even if our electric circuits and amplifiers guarantee a perfect clean sound… you may fear that your recording system could affect the reamping. For this reason we studied a solution: we ask you to record a few seconds (3-5 seconds) of “static signal” at the start or at the end of every track, whithout modifying the settings used in the recording. Leave the instrument volume pot open and hold the strings still with your hands without moving, to avoid any sound or noise. This will allow us to detect the noise, that will be deleted with an algorythm for a perfectly cleaned track.

How to prepare your Tracks:
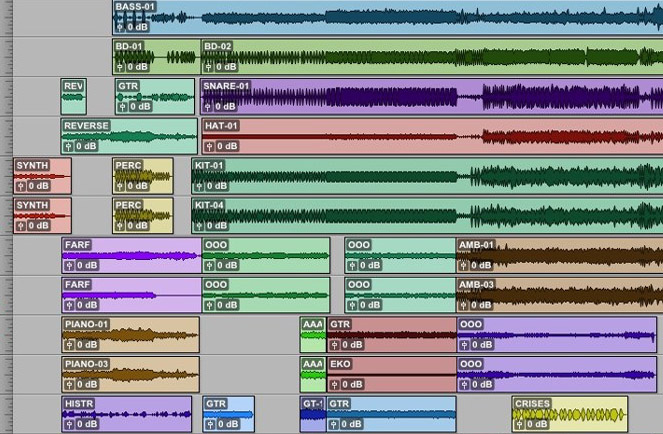
You can edit your tracks before sending them, being careful to use cross-fades between cuts and to cancel useless silence. Remember that using fade out/in is equal to turn down or up the volume of the instrument, influencing the level of saturation during the reamp. At this point you are ready to export the files in the format you recorded them (44.1 khz or 48 khz, 16 or 24 bit, WAVE or AIFF): files must start from the beginning of your project, in this way you will find the tracks we sent you in the right position after the import.
What to send us:
We ask you to send for each track to reamp:
– a MONO file PCM (Wave/Aiff) of the direct line of your instrument (be sure to turn off all the volume automations, plugins, or other inserts on the channel while you export)
– a mono mp3 file with the same part processed with the amp simulator you used during the tracking to give us ideas about the saturation levels, dynamic and sustain you are looking for
– (optional) a stereo mp3 file with the remaining of the arrangement (drums, keyboards, vocals, ecc…) to understand how the parts interact with the reamped tracks (please don’t put in this mixdown the tracks that you need to reamp)
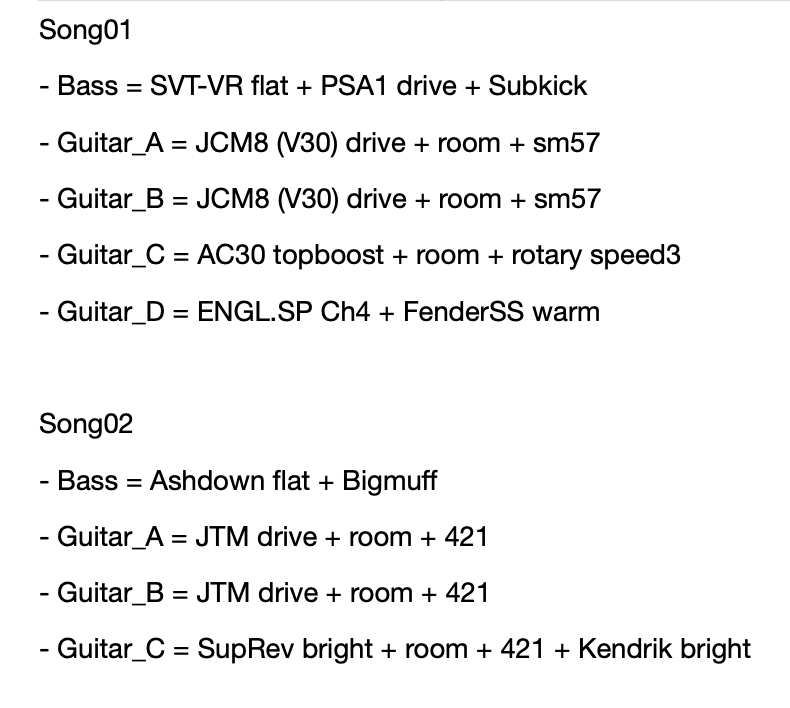
– the DATA file*
If you have more files or more songs, you should organize your data as shown in the example with sub-folders for each song, and with “_X” to name the different tracks.
How to choose your setup
Browsing the samples section you can find some examples of reamped guitar and bass tracks, made with different types of pick-ups and instruments, of every single amplifier available in its multiple modes and sound possibilities. Each model, has a reference code, that you should use to indicate your choice in the “DATA” file.
Please note: the choice of the setup and the sound it’s a first indication, we don’t work with presets, but each sound will be designed by an engineer in order to get the best response, based on your lines and listening the reference file. If you cannot choose, you can just tell us the amplifier you want to use and we will find the sound best suited for you!
How to fill the “DATA” file*
Together with the audio files, we will ask you to send us one file named “DATA” (pdf or txt), where you tell us for each track what kind of setup you desire, if you want the recording of the room track, one or more added microphones, and if you want some saturated tracks for bass to blend, spring reverbs or rotary cabs for guitars. Use this file to compile the order counting every stack, tracks, effects, extra microphones etc…
Transfer Mode
A simple link to a Dropbox folder is the best choice, but also a WeTransfer link will be good.
Before uploading the files, check that everything is correct and tidy, and re-import the files in a new project to verify that they are correctly cut. You can put the download link in the notes of the order during the payment.

Payment
We ask you to use our shopping cart to calculate the total price of your reamping session. If it’s your first time with us, we’ll ask you your billing information in order to create an account and be registered for further orders. The payment method is PayPal certified, but don’t worry, even if you don’t have a PayPal account you can use any credit card. If any inconsistency shows up, we’ll contact you and we will start an adjustment procedure.

Reception Mode
After a few days from your order you will receive a link to your registered e-mail address, from which you can download all the requested tracks ready for your mix!


